
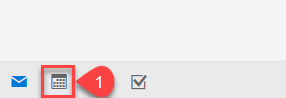
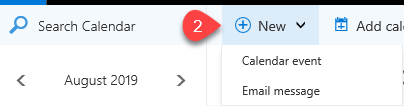
1. In the lower left corner of O365 Webmail, create a new meeting by opening your calendar (1), then inside your calendar, click + New > Calendar event (2)
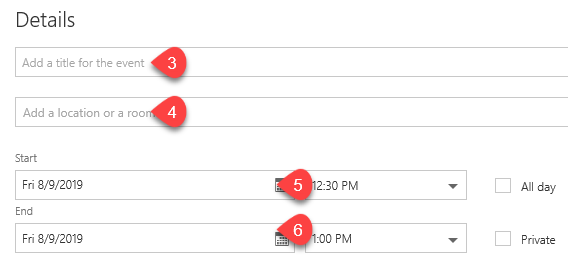
2. In the new event window, enter the details of your event - e.g. - Title (3), Location (4), Start & End Time (5-6), etc.
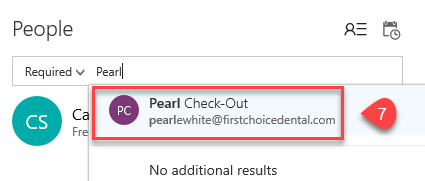
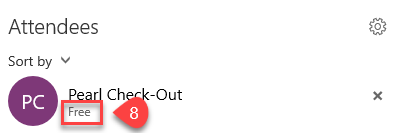
3. In the same new event window, under the required people field, enter "Pearl Check-Out". This should auto-fill as you type. Click Pearl Check-Out (7) to add Pearl as a required resource of your event. O365 automatically knows that this is a resource, and will show you if Pearl is free or busy (8) based on your event details - specifically the time and date.
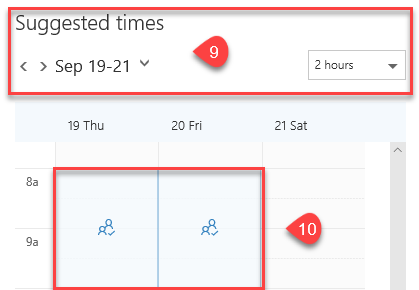
4. You can also use the Suggested times (9) section to see when Pearl is available. Clicking the blue boxes (10) will automatically update the time and date (5-6) under event details.
5. Complete the rest of your details – Reminders, Notes, etc.
5. Click “Send”

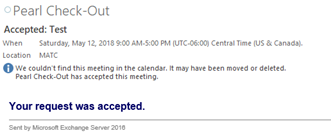
6. You will receive an automated response if the requested time and date are available:
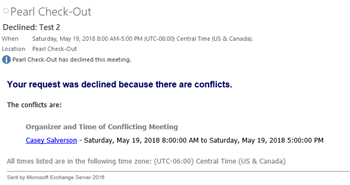
***NOTE:*** Suggestions are not provided for non-working hours – Saturday & Sunday and anything outside of 8am-5pm M-F. You will not be able to see live data in the Room Finder, but the system will still send out accepted or declined emails if the resource is already booked.
Comments